Applications have access to a large number of fonts from the operating system. But, what do you do if the font you require isn't installed on your system or, more importantly, cannot be assumed to exist on the systems you app will be installed onto. When this is the case, you need to embed the font into your application and use it from there.
This note shows the most basic steps necessary to include a custom font in your application.
Finding fonts
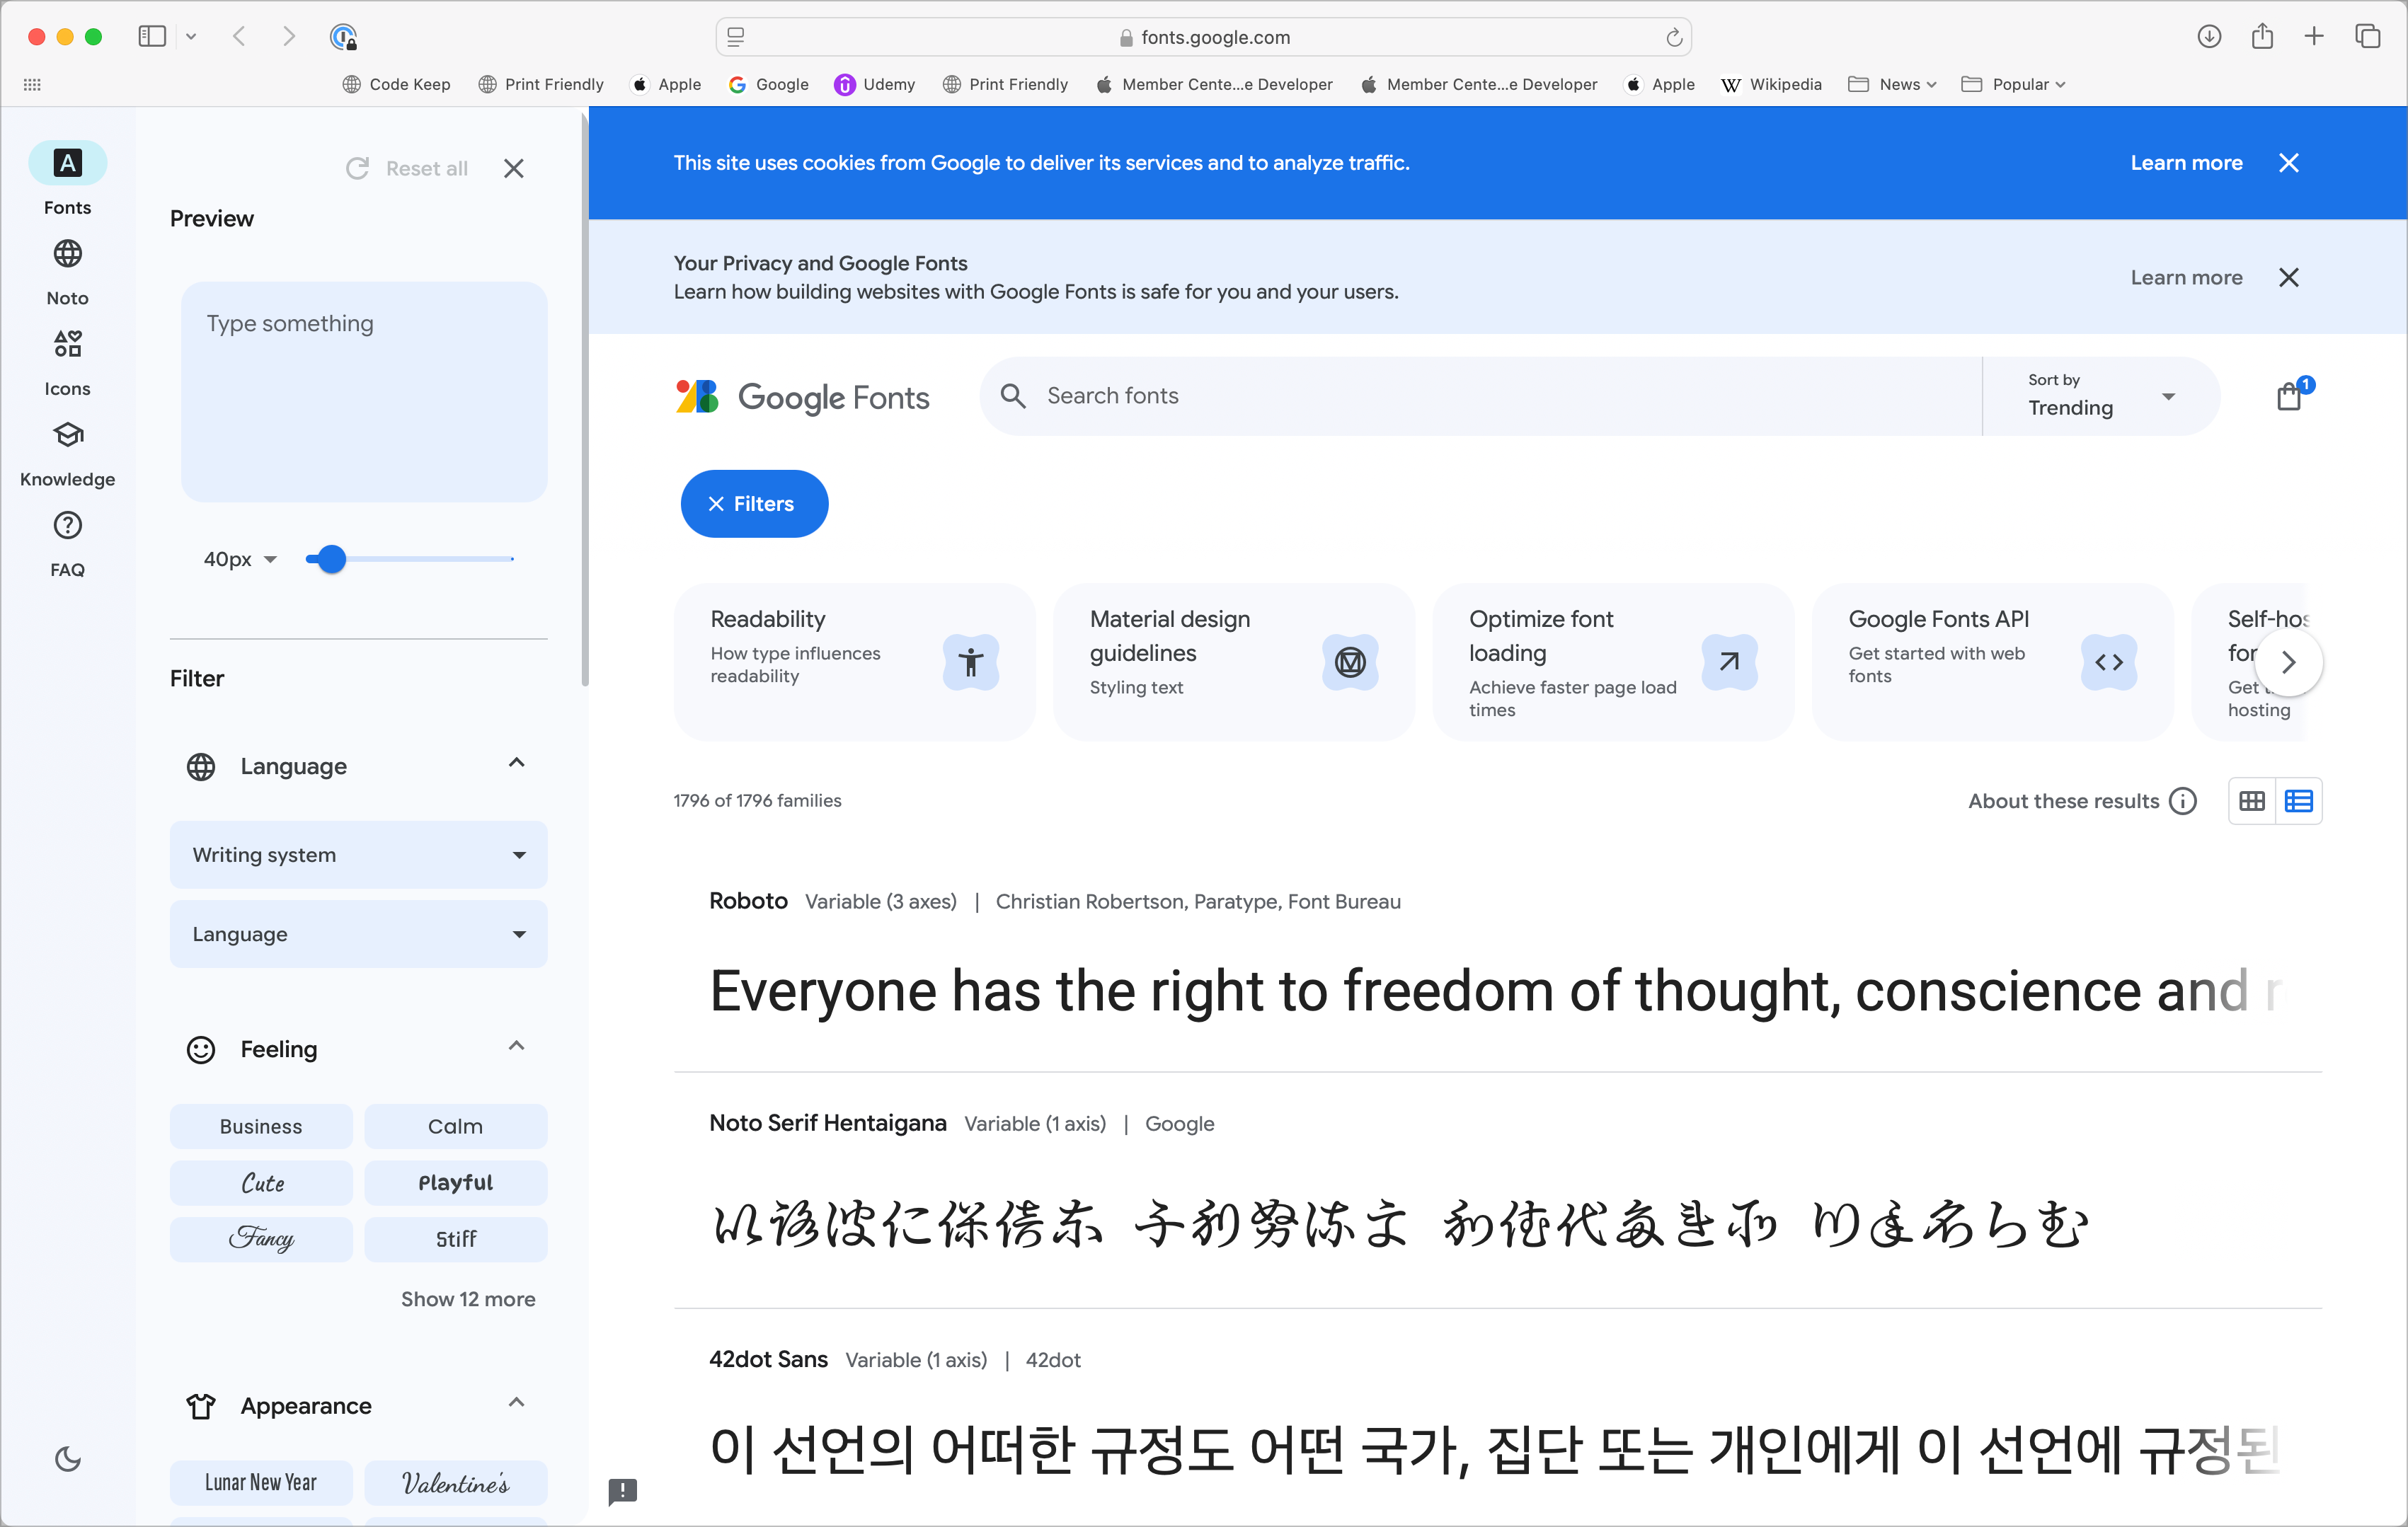
You may already have a font file you want to use or you may want to download one from the net. A good place to get fonts is Google Fonts where there are a large number of fonts of all kinds. Using the filters, you can narrow down your selection to the precise font you need.
When you select a font, you will be given the opportunity to download it.
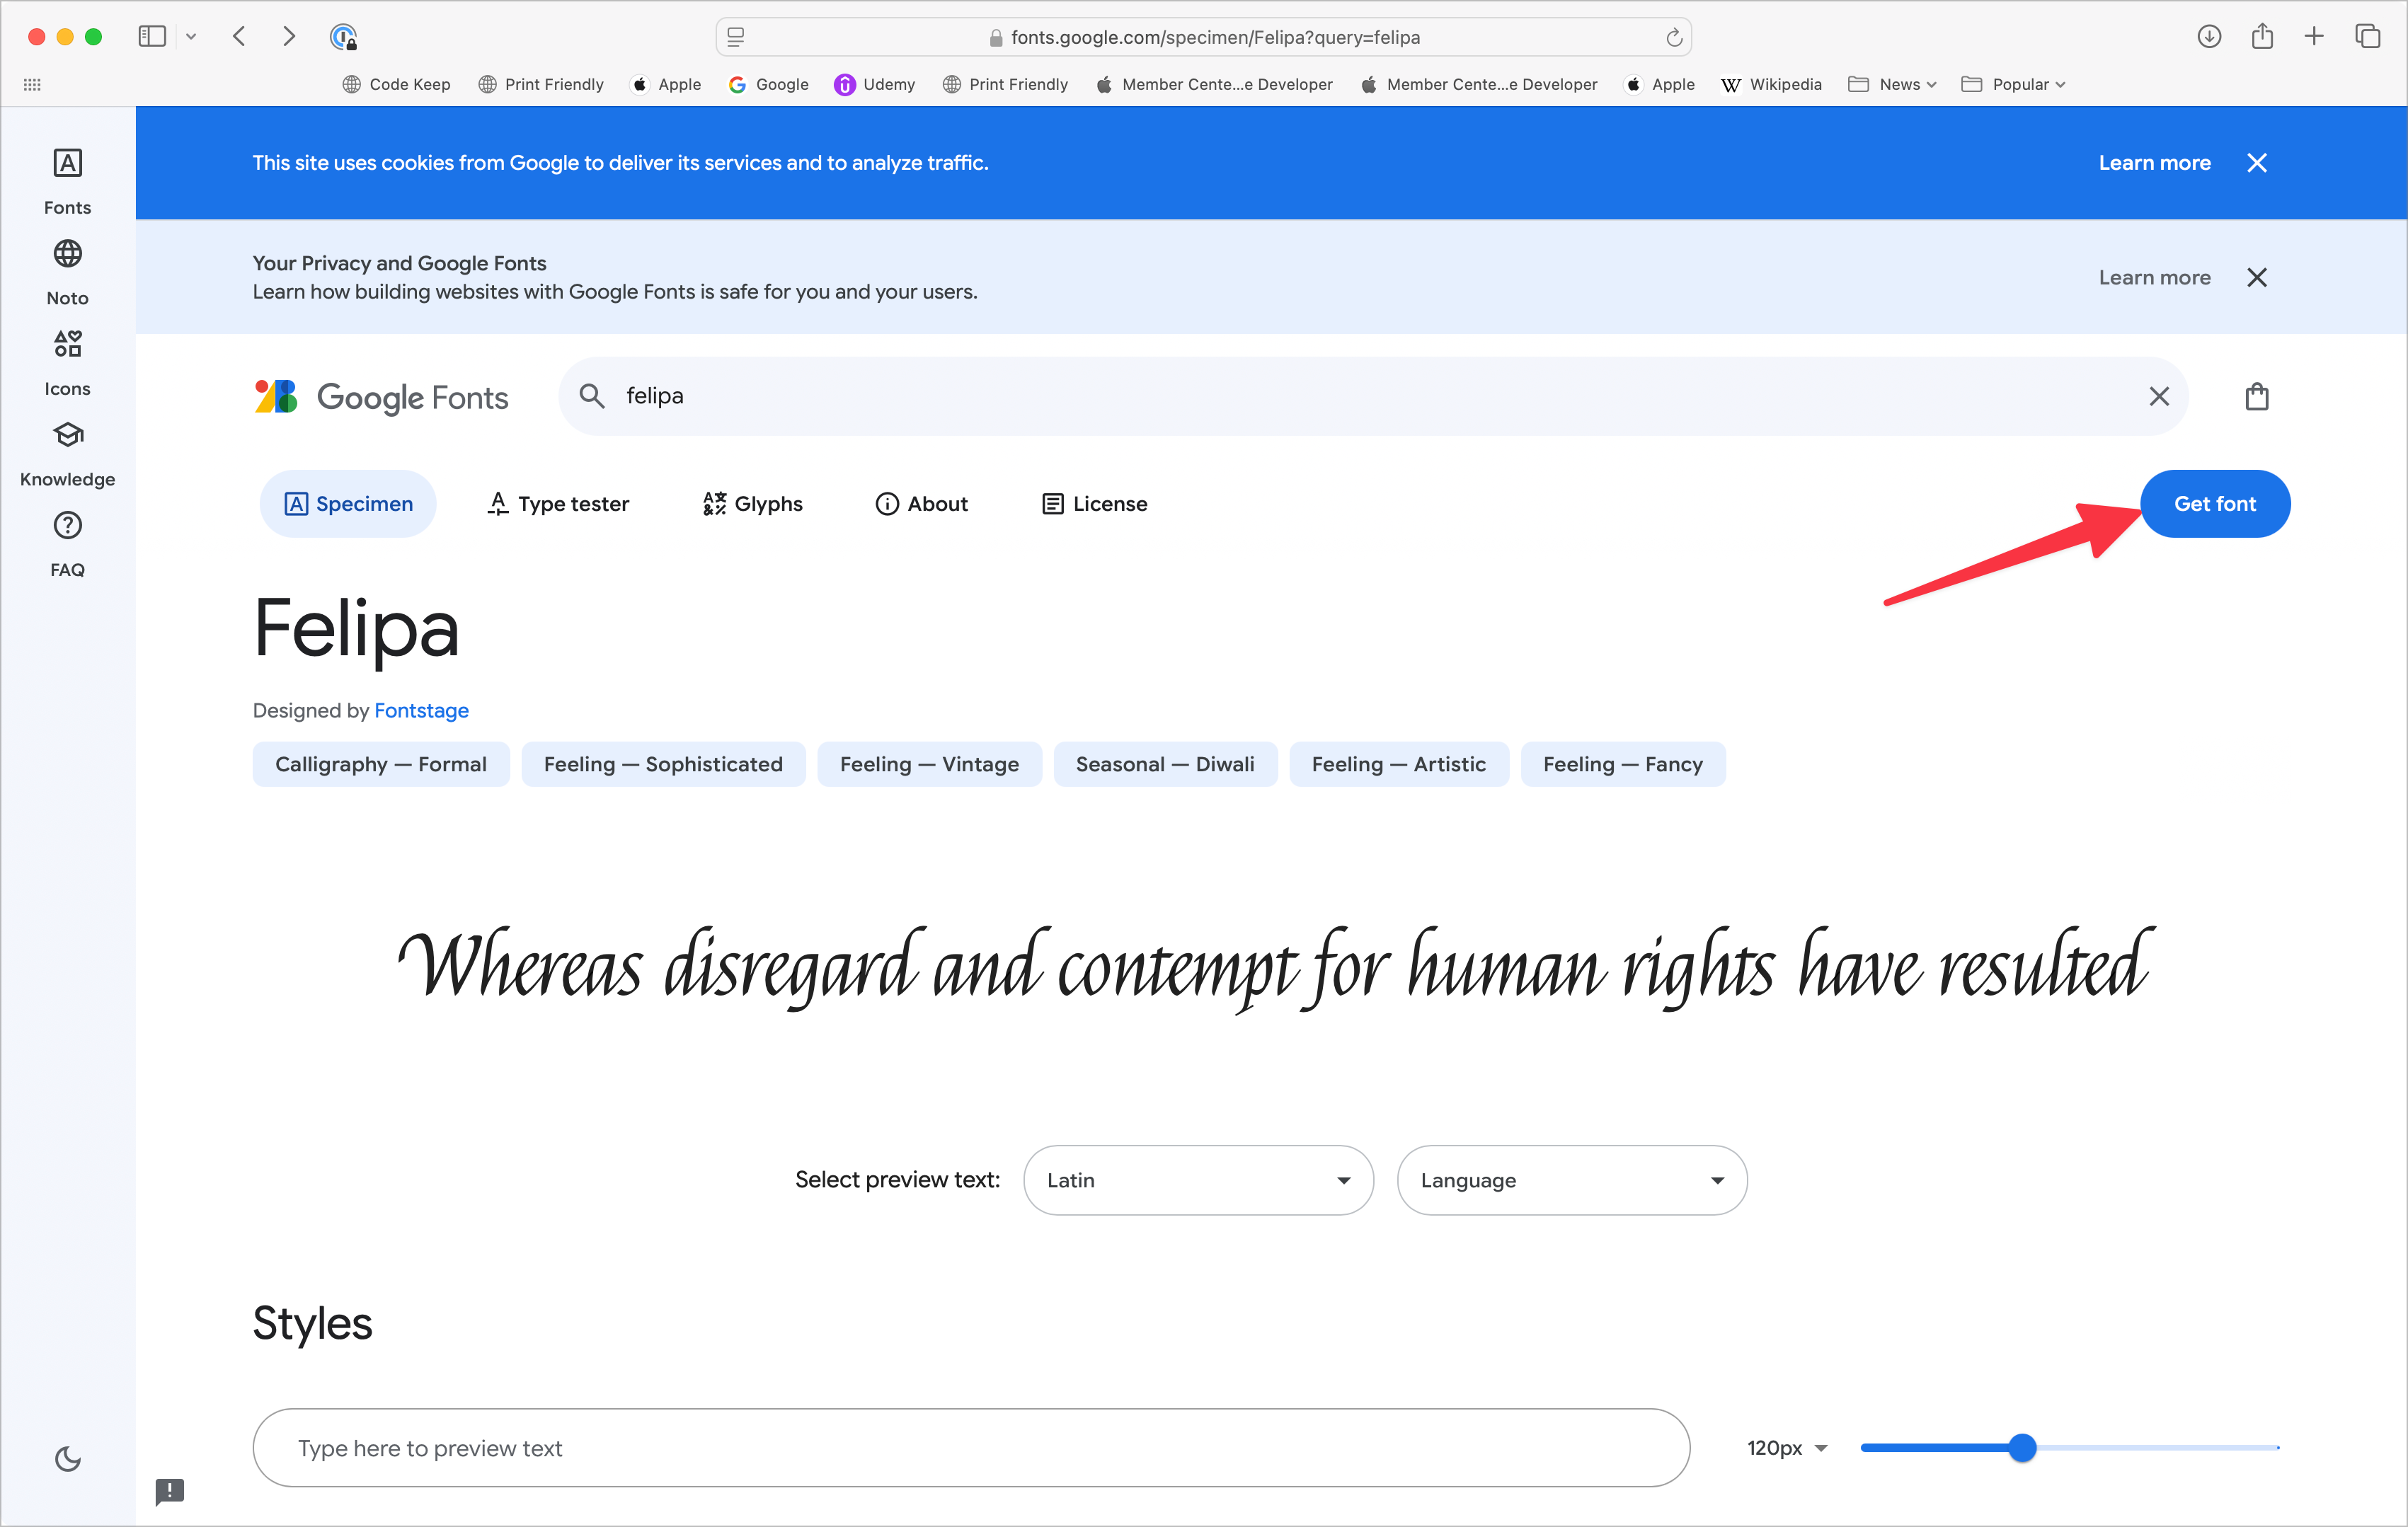
This will download a zip file with the associated .ttf files in it. You will need to extract these files in order to add them to your program. It's worth noting that there may be more than one ttf file in the zip. There will normally be a file containing "_Regular" in the file name and one or more files with other modifiers such as _Bold or _Italics for other variants of the font. You do not need to include all files in your project, just the regular and any other variants you intend to use.
Using fonts in your application
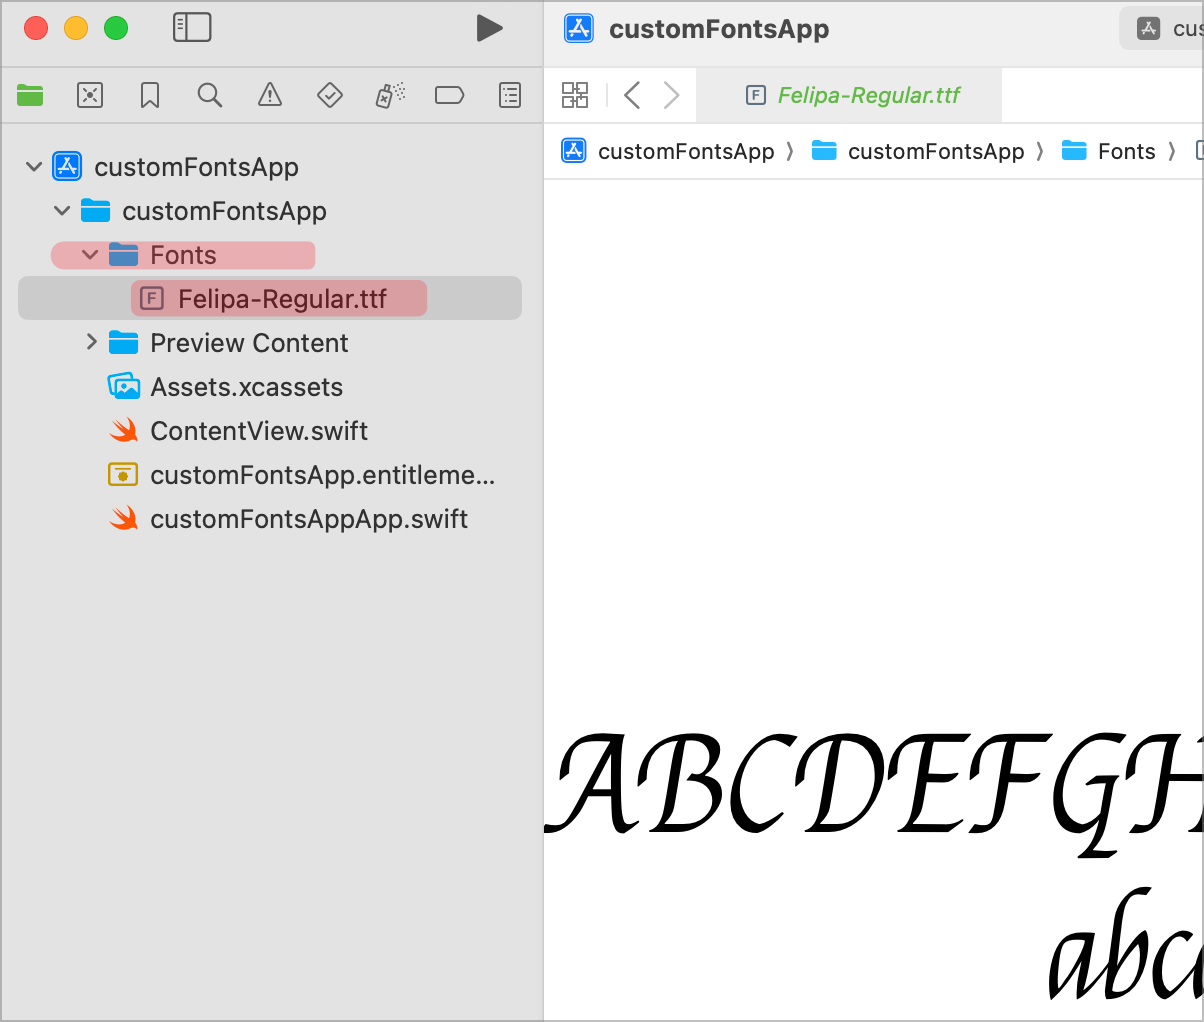
Open your application a d create a Fonts folder (the folder can be called anything, Fonts just makes sense) and drag these font files into the folder. When prompted, make sure you copy the files and that the target is selected.
This gets the font into your project, but does not make it available for use. In order to use it, you must tell XCode where the font is located. That requires a change to the info.plist.
Select the project and the info tab and add a new key for Application fonts resource path with a value of a dot.
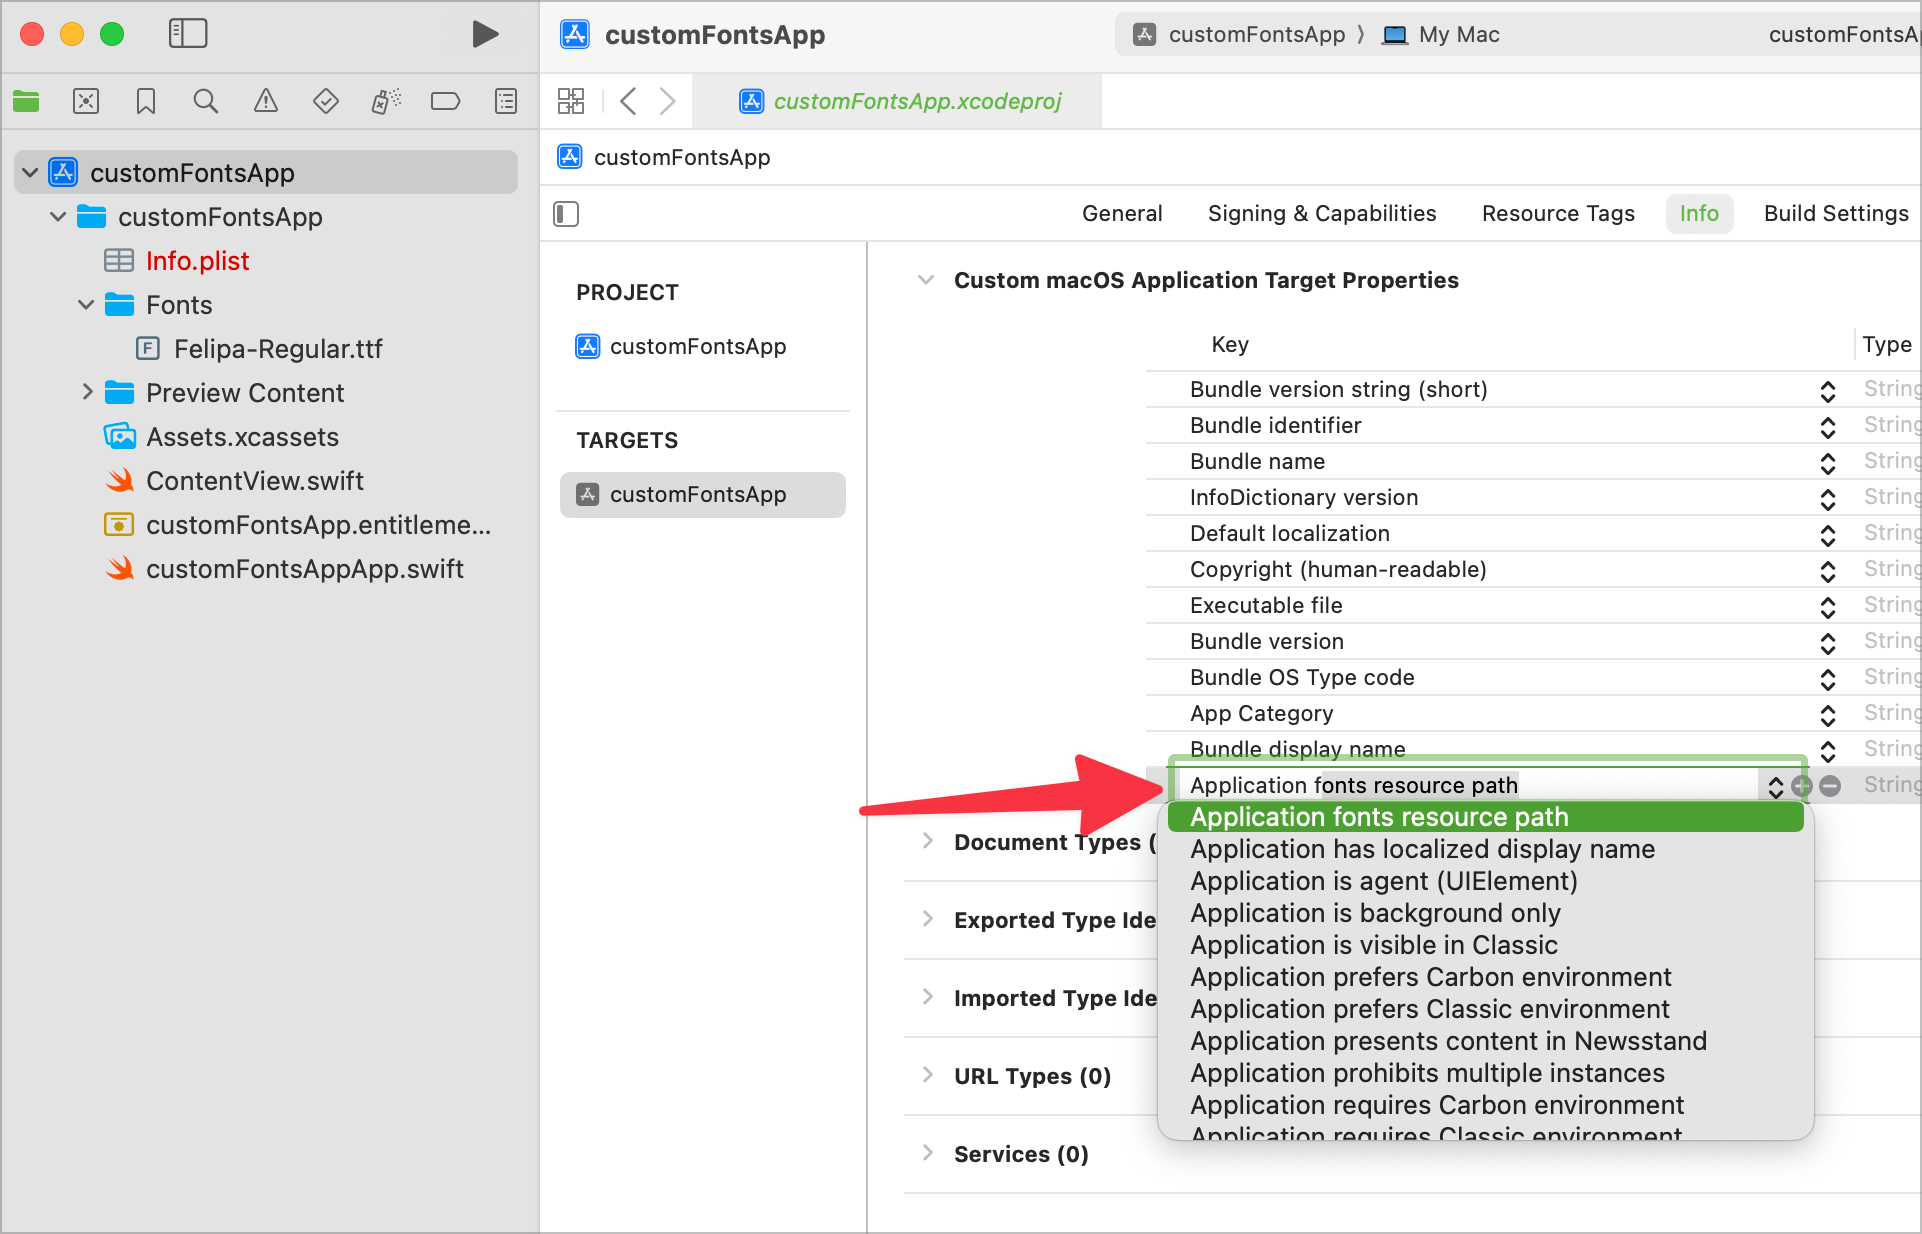
The path we are specifying here is the path relative to the resources in your compiled application. Since the fonts will be compiled to the root of the resources in your application, you can use "." to indicate the root.
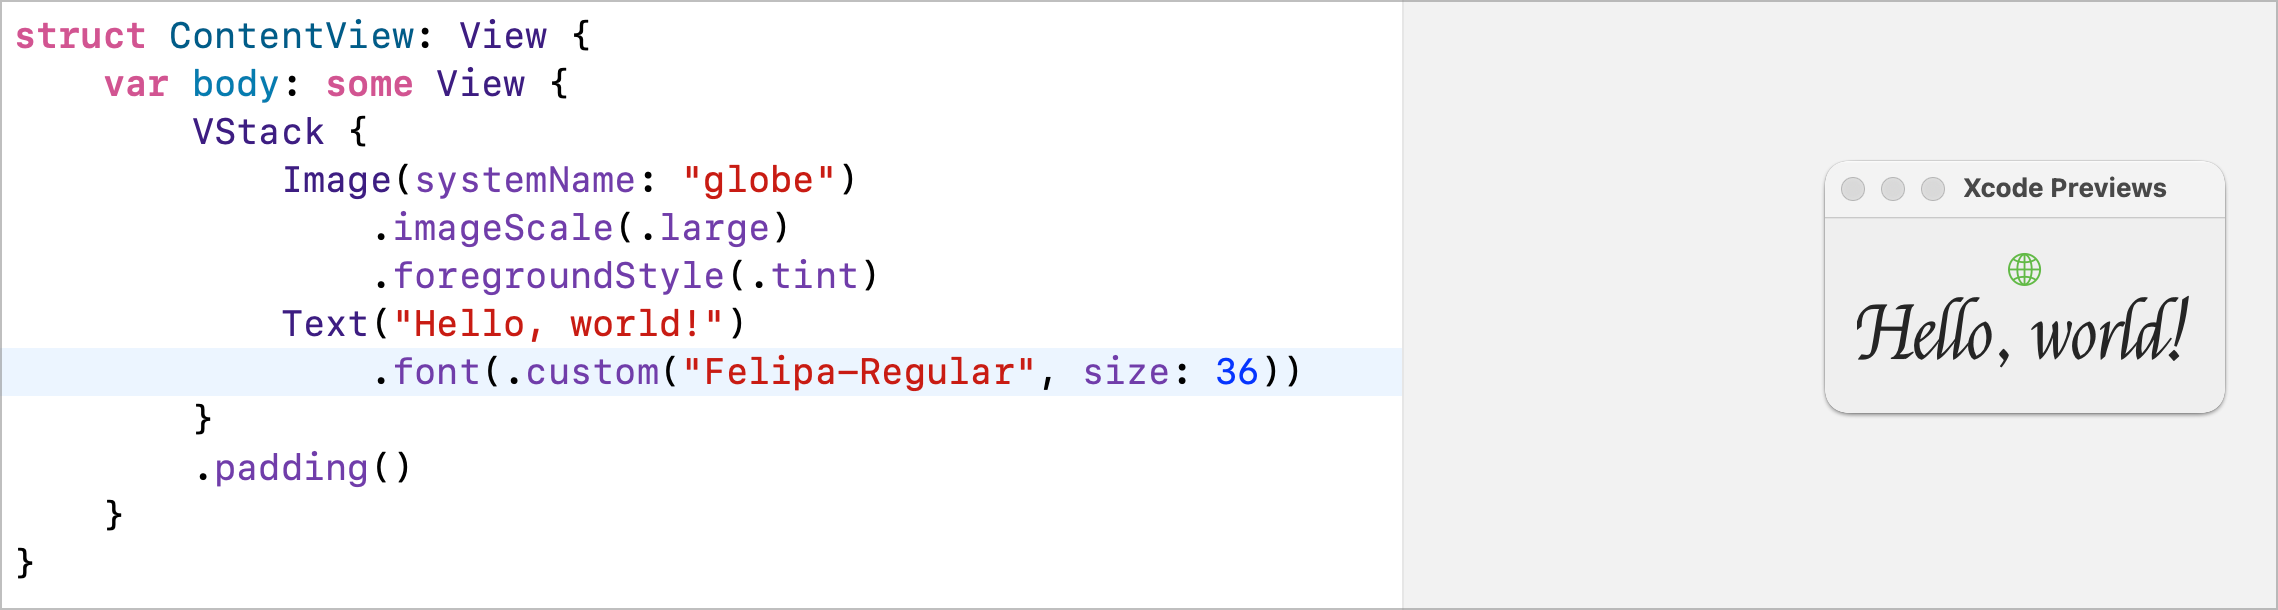
Now that the font is part of the application and XCode knows where to look for it, we can use it in our application:
Making it easier to use
It's a little messy specifying a .custom font in your code. There has to be a better way.
The solution is to create an extension to Font for your new custom font. Create a new swift file called Font+Extension and add the following code:
import SwiftUI

extension Font {
    static func felipa(size: CGFloat) -> Font {
        Font.custom("Felipa-Regular", size: size)
    }
}
We can then change the point where we use the font to:
struct ContentView: View {
    var body: some View {
        VStack {
            Image(systemName: "globe")
                .imageScale(.large)
                .foregroundStyle(.tint)
            Text("Hello, world!")
                .font(.felipa(size: 36))
        }
        .padding()
    }
}
Using ".felipa" in this way makes it more explicit about the font you are using, while keeping the code more "swiftUI" like. It also has the side effect that you now have a single point in your code where the name of the font is specified, so it would be very easy to change if your organisations font changes.
Get The Code