As a rule, changes in the data should be sufficient to trigger changes in our views. However, there are times when this mechanism does not work as smoothly as we need it to and it is useful to be able to notify our application that something has happened.
One such case I have fallen across was when I had a settings window where i allowed the user to create 'themes' that controlled the fonts used throughout the app. My problem was that, when I changed the settings window, I did not see my app update until after the settings window closed. While this is ok, it's not ideal as I would prefer the app to update as changes are made to the settings. The solution was to send out a notification to my app that a theme setting has changed. Each view could trap the notification and update accordingly.
Another example might be a process that periodically checks for an update on the web. When an update is detected, we need to inform the app that there is an update and that any outstanding work needs to be saved. There are many other reasons for using notifications within your app.
Basic Theory
The basic theory is that the piece of code that needs to let everyone know about a change (the notifier) sends a notification out into the system and assumes that anyone interested will deal with it. Anyone that is interested in that notification (the listener) will listen out for that type of notification and will know what to do with it if it is informed that it has been sent.
The notifier has no idea how many listeners there are for its notifications and does not care whether there is anyone listening or not. It sends its notification and forgets about it.
The listener decides what notifications it wants to receive and provides a handler for it. As notifications arrive, they are handled and discarded.
Defining Notifications
Before we can issue or handle a notification, it needs to be defined. The notifier needs to know the name it should use when it sends notifications and the listener needs to know what it is listening for.
Now, jumping ahead a little, I'm going to define my notifications within a struct called AppNotifications. I put all mu notifications in a single place because it makes them easier to manage and will, when we come to use the notifications, make our code cleaner.
import Foundation

struct AppNotifications {
    static let RefreshPreviewNotification: String = "refreshPreviewNotification"
    static var refreshPreview: NotificationCenter.Publisher {
        NotificationCenter.default.publisher(for: Notification.Name(rawValue: AppNotifications.RefreshPreviewNotification))
    }
}
This example defines a single notification message called RefreshPreviewNotification. We're going to need the name of the notification as a string, so it makes sense to define it here. In order to send a notification, we also need a publisher, which I have created as refreshPreview.
Sending a Notification
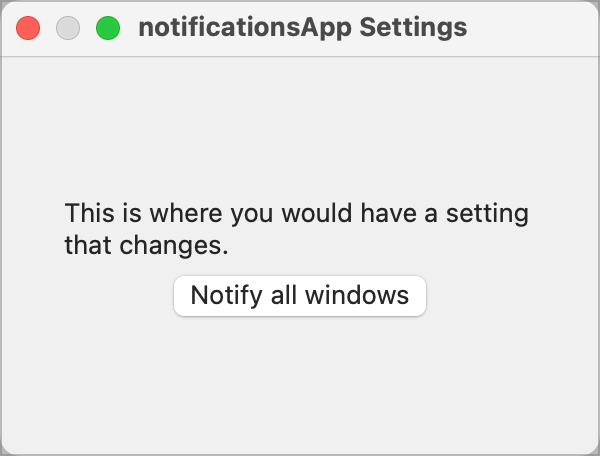
We need a way to trigger the notification. For the purposes of an example, I have created a settings screen with a button on it. So, nothing fancy. This is triggered from the App definition.
@main
struct NotificationsAppApp: App {
    var body: some Scene {
        WindowGroup {
            ContentView()
        }

        Settings {
            SettingsView()
                .frame(minWidth: 300, minHeight: 200)
        }
    }
}
The Settings scene will open the SettingsView. I've given it an arbitrary frame size just because our view contains only some text and a button.
struct SettingsView: View {
    var body: some View {
        Text("This is where you would have a setting that changes.")
        Button(action: {
            sendNotification()
        }, label: {
            Text("Notify all windows")
        })
    }

    fileprivate func sendNotification() {
        let notificationName = Notification.Name(AppNotifications.RefreshPreviewNotification)
        let notification = Notification(name: notificationName,
                                        object: nil,
                                        userInfo: nil)
        NotificationCenter.default.post(notification)
    }
}
When the button is pressed, it executes the sendNotification function. This retrieves the name of the notification from the AppNotifications struct and creates an instance of the Notification struct which we then pass to the NotificationCenter. NotificationCenter sends out the message to anyone listening.
But, what if we need to pass data to our listeners? Well, that's possible too. We can extend the Notification definition to include userInfo.
    fileprivate func sendNotification() {
        let userData: [AnyHashable: Any] = [
            "updateId": UUID().uuidString,
            "updateTime": Date.now.formatted()
        ]

        let notificationName = Notification.Name(AppNotifications.RefreshPreviewNotification)
        let notification = Notification(name: notificationName,
                                        object: nil,
                                        userInfo: userData)
        NotificationCenter.default.post(notification)
    }
The userInfo we pass is a dictionary defined as [AnyHashable: Any]. It's a very generic definition that allows for a great deal of flexibility when creating our values. We can pass just about any kind of data. I tend to restrict myself to string keys and string values... makes life simpler.
All of this results in a simple mechanism for sending our notification.

Receiving Notifications
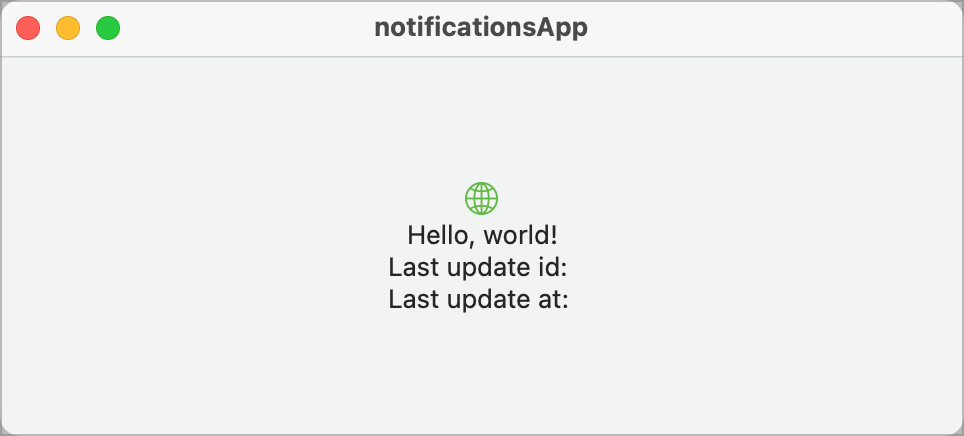
Now we have a form that sends out notifications, we need some way to listen out for them and handle them when they arrive. That's handled in the content view.
struct ContentView: View {

    @State private var updateId: String = ""
    @State private var updatedTime: String = ""

    var body: some View {
        VStack {
            Image(systemName: "globe")
                .imageScale(.large)
                .foregroundStyle(.tint)
            Text("Hello, world!")

            Text("Last update id: \(updateId)")
            Text("Last update at: \(updatedTime)")
        }
        .padding()
    }
}
Our content view is very simple, consisting of the normal template code and two bound string text values that start out empty.

In order to listen for our notification, we code the .onReceive modifier.
struct ContentView: View {

    @State private var updateId: String = ""
    @State private var updatedTime: String = ""

    var body: some View {
        VStack {
            Image(systemName: "globe")
                .imageScale(.large)
                .foregroundStyle(.tint)
            Text("Hello, world!")

            Text("Last update id: \(updateId)")
            Text("Last update at: \(updatedTime)")
        }
        .padding()
        .onReceive(AppNotifications.refreshPreview) { userData in
            guard let userInfo = userData.userInfo
                    as NSDictionary?
                    as! [String: String]? else { return }

            self.updateId = userInfo["updateId"] ?? "Unknown"
            self.updatedTime = userInfo["updateTime"] ?? "Unknown"
        }
    }
}
.onReceive is passed the publisher details. When the notification is sent, the closure is called to handle it. The closure gets one parameter, which includes our userInfo, if any was sent by the sender.
User userInfo is an optional value in the userdata we were sent, so the first job is to unpack this optional dictionary. Because we have stuck to the simple rule of String keys and String values, we can cast the dictionary to a [String: String] dictionary.
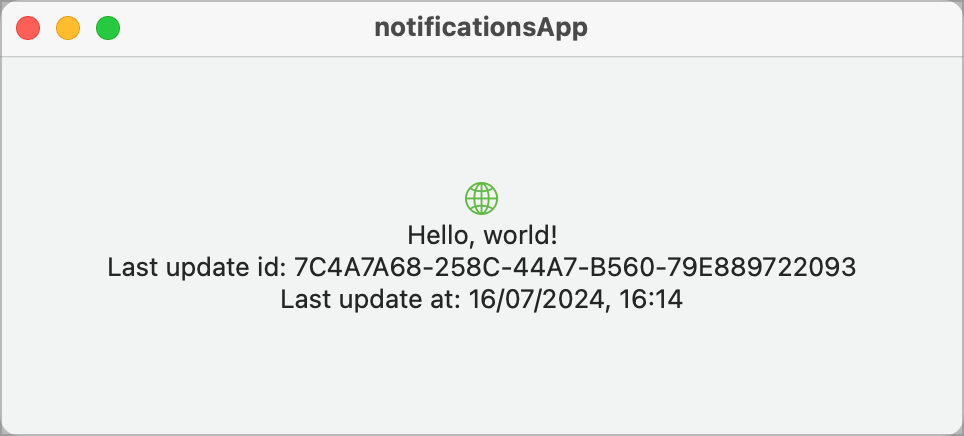
Once we have this dictionary, we extract the values that the sender passed us and the view refreshes.

If we open multiple windows, they will all receive the notification and will all display the sent data.
Get The Code


