SwiftUI provides us with a lot of functionality and, as a rule, it provides most of what we need. However, there are some things it does not give us access to and, when we need to venture into this territory, it can be useful to be able to access the underlying NSWindow in which our view is running. SwiftUI does not give us a way to do that.
In this note, I want to explore a method of getting the NSWindow and look at some simple usages for it. There will be other notes that build on this functionality.
What we want to achieve
For the sake of a simple example, let's take a basic app. We want the window to be a fixed size, so we start out changing the scene to force the window size to be controlled by the content view.
@main
struct windowReferenceAppApp: App {
    var body: some Scene {
        WindowGroup {
            ContentView()
        }
        .windowResizability(.contentSize)
    }
}
With this in place, we can let the ContentView set its own size.
struct ContentView: View {
    var body: some View {
        VStack {
            Image(systemName: "globe")
                .imageScale(.large)
                .foregroundStyle(.tint)
            Text("Hello, world!")
        }
        .padding()
        .frame(width: 300, height: 300)
    }
}
When we run the app, we get a fairly standard MacOS style window displayed.
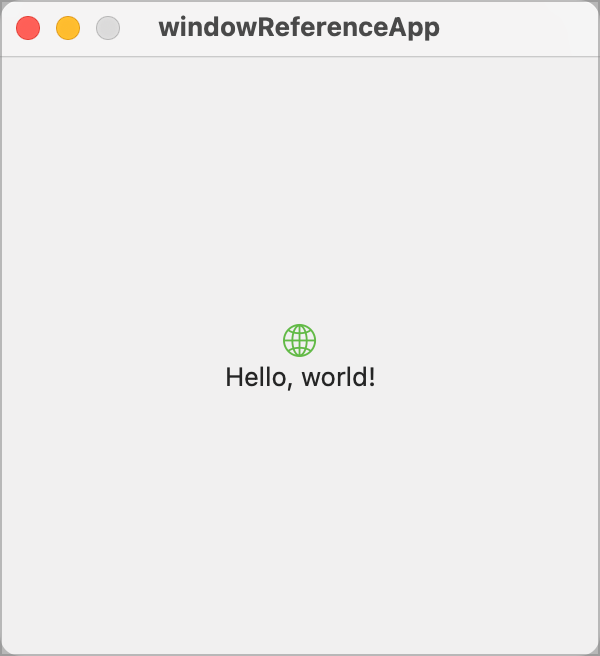
We have a standard title bar with icons for close, minimise and a disabled icon for maximise. That's great if we want a standard window. What if, for example, we want a 'tool' style window? Our tool window should
- have no close, minimise or maximise icons,
- have no title bar,
- be movable.
None of that can be achieved using pure SwiftUI, but it is easily achieved when we have access to the NSWindow that our view is hosted in.
Getting the NSWindow reference
You can add AppKit windows to a SwiftUI view using NSViewRepresentable to wrap them. This is a SwiftUI wrapper that handles the communication between a native AppKit view and a SwiftUI view (a much over simplified description!). Using this mechanism, we can wrap an AppKit NSView, which will have access to its parent window.
import SwiftUI

public struct HostingWindowFinder: NSViewRepresentable {
    var callback: (NSWindow?) -> Void

    public init(callback: @escaping (NSWindow?) -> Void) {
        self.callback = callback
    }

    public func makeNSView(context: Self.Context) -> NSView {
        let view = NSView()
        DispatchQueue.main.async { [weak view] in
            self.callback(view?.window)
        }
        return view
    }

    public func updateNSView(_ nsView: NSView, context: Context) {}
}
Our HostingWindowFinder view is initialised with a callback function. This function passes a single parameter to the callback; the NSWindow that our view is hosted in.
We get to the NSWindow by creating an NSView instance. When this is created, it will automatically be associated with the window, so we can use the window property to access the window that the current view is in. To use this in our ContentView, we need to add the HostingWindowFinder.
struct ContentView: View {
    var body: some View {
        VStack {
            Image(systemName: "globe")
                .imageScale(.large)
                .foregroundStyle(.tint)
            Text("Hello, world!")

            HostingWindowFinder { win in
                guard let win else { return }
                // TODO: Use the window
            }
            .frame(height: 0)
        }
        .padding()
        .frame(width: 300, height: 300)
    }
}
I've set the frame of the HostingWindowFinder to a height of 0, just to ensure that it takes up no space in our ContentView. It will, by default, take up some space so could affect layout. We don't want this.
Preparation for our modified window
Now, before we get in to the changes to achieve our tool window, we need to address one minor issue. We're going to be removing the close icon, so we need to provide the user with a way to close our window. For a tool window, this would probably be an icon but we're working on a test app, so we'll just add a close button.
struct ContentView: View {

    @Environment(\.dismiss) private var dismiss

    var body: some View {
        VStack {
            Image(systemName: "globe")
                .imageScale(.large)
                .foregroundStyle(.tint)
            Text("Hello, world!")

            Button(action: {
                dismiss()
            }, label: {
                Text("Close Me")
            })

            HostingWindowFinder { win in
                guard let win else { return }
                // TODO: Use the window
            }
            .frame(height: 0)
        }
        .padding()
        .frame(width: 300, height: 300)
    }
}
The combination of the @Environment variable and the button gives us our close functionality.
Modifying the window style
Now the good stuff. We want to change the style of the window.
struct ContentView: View {

    @Environment(\.dismiss) private var dismiss

    var body: some View {
        VStack {
            Image(systemName: "globe")
                .imageScale(.large)
                .foregroundStyle(.tint)
            Text("Hello, world!")

            Button(action: {
                dismiss()
            }, label: {
                Text("Close Me")
            })

            HostingWindowFinder { win in
                guard let win else { return }
                setAttributes(window: win)
            }
            .frame(height: 0)
        }
        .padding()
        .frame(width: 300, height: 300)
    }

    func setAttributes(window: NSWindow) {
        window.standardWindowButton(.closeButton)?.isHidden = true
        window.standardWindowButton(.miniaturizeButton)?.isHidden = true
        window.standardWindowButton(.zoomButton)?.isHidden = true
        window.isMovableByWindowBackground = true
        window.titleVisibility = .hidden
        window.titlebarAppearsTransparent = true
    }
}
Our HostingWindowFinder callback now checks to ensure that we managed to get the NSWindow reference and, if we did, calls a function to set the attributes of the window.
The first three attributes we set hide the three icons. Next we allow the window to be moved by clicking and dragging the window background. Since we're going to remove the title bar, there will be no other mechanism for moving the window and having a tool window you cannot move is unhelpful. The final two attributes hide the title and the title bar.
The resulting window gives us a movable tool window.
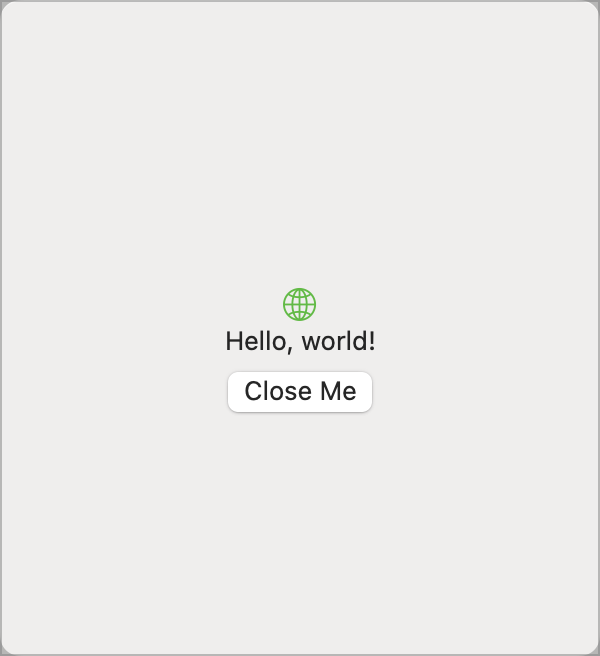
Pressing the mouse button down and dragging allows you to drag the window.
Project accomplished!
There are many other things you can do once you have the hosting NSWindow. On the whole, I would avoid using this technique for anything that you could achieve some other way with pure SwiftUI code. Our aim should always be to avoid using AppKit code wherever possible. However, there are going to be times when you cannot avoid it.
Window Number
Hanging on to the entire window may not be the most efficient thing to do. As an alternative, every window has a unique window number within the context of your application. This corresponds to a Swift Int, so we can store the window number. We can then use this to get a reference to the window at any time.
        guard let window = NSApplication.shared.windows.first(
            where: {$0.windowNumber == windowNumber})
        else { return }
NSApplication.shared.windows contains a list of all windows in your application. We find our window by filtering on the window number.
Warning Do not store window numbers between executions of your application. They will be re-generated the next time the application runs and will be different.
Get The Code